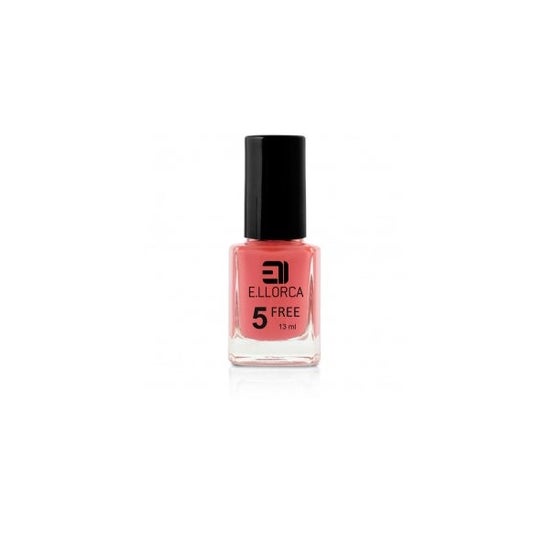
Nail polish with maximum covering power, long lasting and a mirror effect shine. Its brush allows a better application and coverage. They have a powerful covering power. Long lasting. Great variety of red tones, berry, light pink, rosewood, dark red, cherry red, pale pink, pink, coral, orange, red, salmon, burgundy or dark red.
E.Llorca Nail Polish Mini N4.10 1pc
2,05€ by redeeming Health points. Log in
![]() Sent from Spain
Show details
Sent from Spain
Show details
Enviado por DocMorris
2,05€ by redeeming Health points. Log in
![]() Sent from Spain
Show details
Sent from Spain
Show details
Enviado por DocMorris
Description
Instructions for use
Step 1. Prepare the nails for the nail polish:
- Remove old layers of polish.
- Trim to desired shape, file and buff nails.
- Moisten hands with warm water to soften cuticles.
- Push back the cuticle, DO NOT cut, as it protects the nail matrix.
- Moisturise cuticles and hands.
- Remove excess oil, especially from the nails, so as not to reduce the life of the nail polish.
Step 2. Tips for easy removal of excess nail polish:
- Use petroleum jelly around the nail, to prevent the nail polish from sticking to the skin.
- Apply white glue around the nail, let it dry and proceed to paint.
- Then stretch the dried glue to remove the paint residues.
- Use the classic method by wetting a used brush with nail polish remover and go over the edges removing excess polish.
Step 3. Paint and dry the nails:
- Apply a base coat to each nail and wait until it is completely dry.
- Apply the first coat of your favourite nail polish in a thin, even layer.
- Avoid product build-up by applying it to the base of the nail.
- Divide the nail into 3 areas and spread the polish with the brush in a straight line from the base of the nail to the tip.
- Repeat the same movement for each of the areas of the nail until the coverage is complete.
- Repeat the same process on each nail.
- Let the first coat of nail polish dry completely.
- Apply the second and third coat of nail polish if necessary.
- If using a clear nail polish probably use 2 and 3 coats.
- If using a high coverage nail polish, 1 coat is probably sufficient.
- To finish, apply a thin layer of top coat for an even, glossy finish.
Step 4. Finish:
- If petroleum jelly has been applied, remove it with a cotton swab once the polish is completely dry.
- If you have opted for the glue trick, simply pull it off gently.
- If you have opted for neither of the above two tricks, then use a cotton bud or a thin old brush and nail polish remover to touch up the edges of the nails where the nail polish has come off.
Unit price
Safety and product information
Safety visual aids
At this time we do not have safety images for this product, but we are working on it. We encourage you to check back later for updates. In the meantime, we recommend that you read the safety information that comes with the product before using it. If you have any questions about safety, please do not hesitate to contact us. Also, if you wish, you can also return the product by following our terms and conditions.
Manufacturer details
At the moment we do not have the manufacturer's details, but we are working to add them as soon as possible. We invite you to check back later for updates. If you have any questions, please do not hesitate to contact us, we will be happy to help you.
RELATED SEARCHES ABOUT Nail polish
New in Manicure
- Charlotte Bio Esmalte de Uñas Top Coat Irisado Bio-sourced 10ml
- Charlotte Bio Esmalte de Uñas Taupe Bio-sourced 10ml
- Opi Infinite Shine Base Coat Efecto Gel 15ml
- Herome Sos Nail Repair Pegamento para Uñas Mini Lima 10ml
- Sally Hansen Miracle Gel Holiday Esmalte 923 Sugar Plum Kisses 9.17ml
- Sally Hansen Miracle Gel Holiday Esmalte 916 Winterlust 9.17ml
- Sally Hansen Miracle Gel Holiday Esmalte 920 Holiday Romance 9.17ml
- Sally Hansen Miracle Gel 90S Esmalte de Uñas 891 Mixtape 14.7ml
- Jessica GELeration Soak-Off Sealer Polish Matte Finish 15ml
- Jessica GELeration Soak-Off Gel Polish Fab Faux-Fur 15ml

